

Getting Started with Employee Self Service
Here at SimplePay, we believe that taking leave and getting paid should be the least stressful work related things that your employees can do. In the past, however, this hasn’t always been the case, mostly because of all of the red tape and paperwork involved in collecting payslips, and requesting and approving leave.
In our mission to make your payroll experience as simple as possible, we decided to address this issue by including a convenient and easy to use leave requesting and approval system. Your employees will never have to be late for the holiday of a lifetime because their leave didn’t get approved in time. Check out the rest of the post for more information on how you can make your life easier by using employee self service.
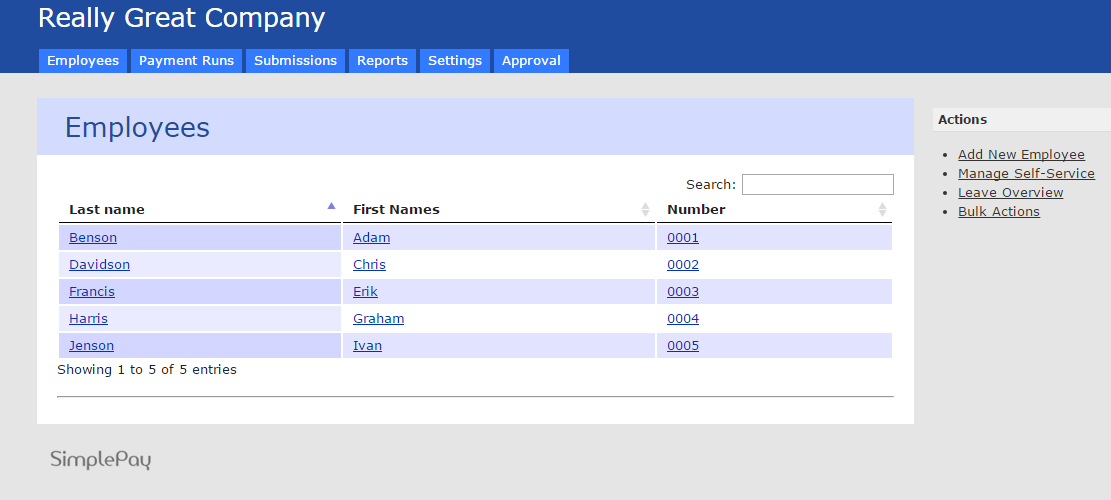
Once you’ve logged into SimplePay, click on the Employees tab and then select Manage Self-Service on the right side of the page.
This will bring up a page displaying all of the employees in the company, with blank spaces in which you can fill in their E-Mail addresses. Go ahead and fill these in for all of the employees for whom you want to enable self-service, after which you can tick the Enabled box. After you have done this you can click on the Save button, which will send emails to everyone on this list, requesting them to create an account that they will be able to use to check payslips and request or approve leave.
The next step in this process is to go to Manage Leave Settings in order to set up your organisation’s approval groups.
The first step will be to click on Add Group. This will allow you to tell SimplePay who will be applying for leave, and who will be approving it. When setting up who requests will be approved by, you will need to choose from one of four options for each group:
- Single Approver – This person holds all the power. All requests get approved by them and them alone.
- Any of – If at least one person on this list approves the leave, you’re good to go.
- All of – Every single person on this list has to approve the leave request for it to be approved.
- All in order – Each person on this list will be notified of the leave request only if the person before them in the list approved it.
Once you have selected which of these modes you want, you can click on the plus icon, select somebody from the list and then click Add. Repeat this process for each leave approver. Specifying who will request leave for this group works in the same way. Click on the plus, select the name and then click Add. Easy. To make things even simpler, if the whole company will be using the same leave approver(s), you can just select the company name from the drop down menu.

Believe it or not, that was the hard part. From now on, your employees will be able to log into their own SimplePay account in order to view or download any payslips they have available or to submit leave requests.
To put in a leave request, employees can simply click on Requests and then Submit Leave Request. From there they can just select the days of leave that they want to request as well as the type of leave before clicking Confirm. After this there will be an option to record a personalised message that will be seen by whoever is approving the leave.
As soon as they click Save, an email will be sent to the appropriate leave approver(s), notifying them of the request.

This email will contain a link to the Approval tab, which will allow yourself or the appointed employee to either approve or deny the request, along with a comment.
So there it is. Getting the go ahead for that dream get-away has never been easier. If you can think of any way that we can make this process even simpler, please feel free get in touch with us and let us know.